Bellevue Exterior Painting: From Stained Wood to Paint

Bellevue · Exterior project report · Four consecutive working days

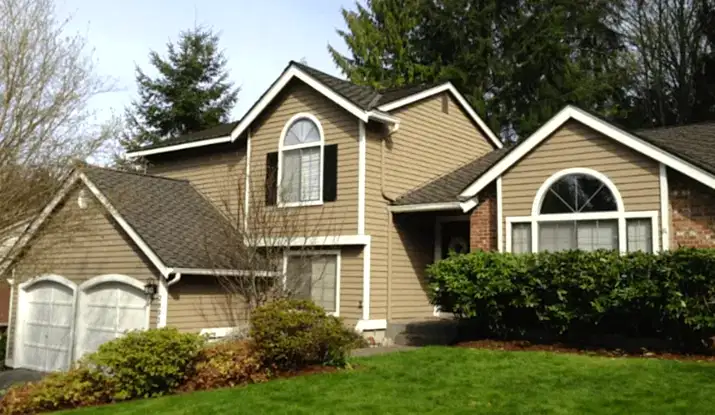
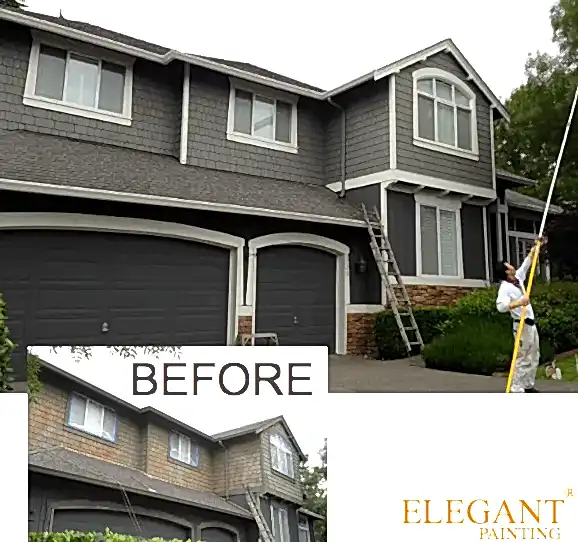
This Bellevue home had previously been finished with a semi-transparent stain. For this job, we changed it to a painted finish. That meant preparing the wood and priming the exterior before the two finish coats—not simply spraying a new color over the old stain.
Before-and-after views of the Bellevue stained-siding conversion.

The house before painting

The original photos show the weathered stained siding around the garage, gables and rear of the home. The south side needed particular attention during preparation.

The Bellevue home before the stained siding was painted.
Weathered stained siding on the garage gable.
The garage and siding before painting.
The rear of the house before the work.

Preparing and priming the wood

Our original notes record that we removed roughly 1/16 inch from the weathered siding on the south side. The aim was to give the primer a sound surface to bond to. We then coated the exterior with Zinsser Cover Stain oil-based primer, spraying and back-rolling it into the texture.

Close view of wood siding during surface preparation.
The exterior after the priming stage.
The original comparison showing sprayed and back-rolled coverage.
Working the coating into vertical siding with a roller.
Close-up comparison of coverage on textured siding.

Details before the finish coats

Before applying the finish coats, we checked the siding and trim for gaps, holes and other areas that needed attention. Caulking belongs in the right places; drainage openings should remain open. Our caulking guide explains that distinction.

Siding details during preparation before the finish coats.

The finished exterior

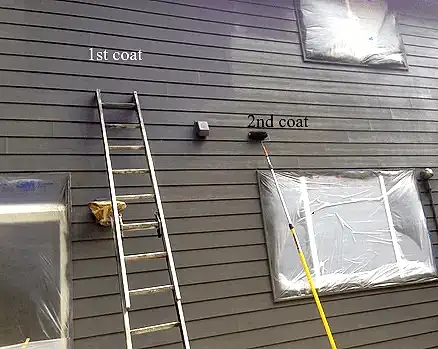
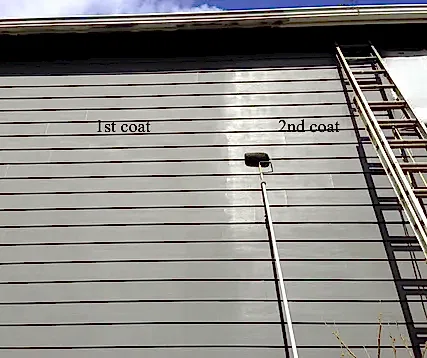
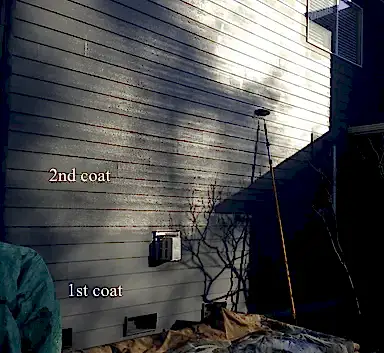
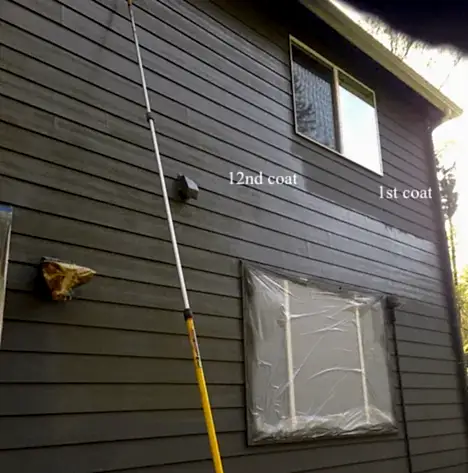
This project took four consecutive working days. After priming, we applied two coats of Benjamin Moore paint and back-rolled both. The original before-and-after photos show the change around the windows, garage and rear elevation.

Before-and-after views of the upper window and siding.
The garage gable before and after painting.
Before-and-after views of the garage and side elevation.
The rear elevation before and after painting.

Planning a similar project?

See our exterior painting services and Bellevue painting page, or request a painting estimate. Tell us what you would like to change and we can take a look.

See more of our work · (425) 588-9288

Elegant Painting® · Serving the Eastside since 2005

Polo Club fence painting progress report

Luxury Estate Painting Polo Club Woodinville

🐎 Luxury Estate Painting: The Polo Club

Located in the heart of Woodinville’s wine country, The Polo Club features some of the most impressive luxury residential estates in the 98077 zip code. These architectural masterpieces often feature dramatic 23-foot vaulted ceilings, grand entryways with fine-finish millwork, and expansive stucco and cedar exteriors.

At Elegant Painting®, we understand the unique demands of these properties—from kitchen cabinet refinishing in gourmet kitchens to the specialized equipment needed for high-ceiling interiors. Whether on NE 149th Street or Avondale Road, our meticulous surface preparation ensures a finish that maintains 'Street of Dreams' elegance.

Protecting Estates Since 2005
No Outsourced Subs
No Deposit to Reserve Spot
No On-The-Spot Signatures
Cancel Anytime Policy

Project Scope & Mapping

Polo Club Woodinville fence project map Note: Estimate includes top of fence and Avondale-facing side. Rear (residential) side is excluded.

Purpose of this Report

This progress report serves to document completed sections, next steps, and estimated timelines for transparency.

Are you looking for a general Woodinville Painter?
View our full gallery and service list here:
Woodinville Painting Contractors Gallery

Project Timeline: Active

Note: Dates are weather-dependent. Our W-2 crew works consecutive business days once started.

  • Power Washing: Week of June 16, 2014
  • Painting Start Date: Week of June 16, 2014
  • Estimated Completion: June 23, 2014

Phase 1: Power Washing

Estate cleaning Woodinville Polo Club Woodinville washing
Woodinville exterior painting prep Power washing completion date: 6/18/2014

Phase 2: Paint Application

Back-rolling paint Woodinville

Technical Focus: We Back-roll the entire surface to enhance adhesion and provide an even spread. This is essential for the porous wood found in Polo Club estates.

Elegant Painting Polo Club Finish

Request a Technical Specification

Experience the "Specialist" difference. No deposits, no pressure, just medical-grade precision since 2005.

Get Your Fixed-Price Quote

Exterior painting in Kirkland, WA – ELEGANT PAINTING®

Day 1; preparations

deck and house window trim

[table id=12 /]

We finished the caulking around windows, trim boards, etc. Removed any loose paint and applied oil based primer as needed.  Also replaced one piece on the garage door trim, some deck boards.

caulking window trim


Back-rolling

We back-rolled both coats to push out the air in the texture and replace it with our premium Benjamin Moore paint.


rough texture siding


Second coat

We had much hotter than average days for this time of the year and the sun dried our second coat faster than we could take these proof of second coat photos!


Screen Shot 2014-04-29 at 6.50.27 PM


Completion date: 4/30/14

kirkland-rambler-with-deck.png Screen-Shot-2014-05-01-at-5.30.42-PM.png


Screen Shot 2014-05-02 at 6.10.36 PM


Thank you for choosing ELEGANT PAINTING®

Hardie-Board and Cedar-Shake Painting: A 2014 Project

Exterior project report · Completed April 14, 2014

This house had several different surfaces to work with: fiber-cement siding, cedar shakes, trim and metal doors. We documented each part of the job, from washing and protection through the second coat. The report was completed on April 14, 2014.

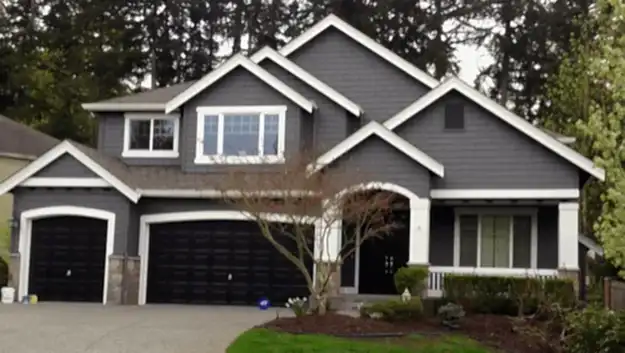
The completed fiber-cement and cedar-shake exterior, April 2014.

Before the work

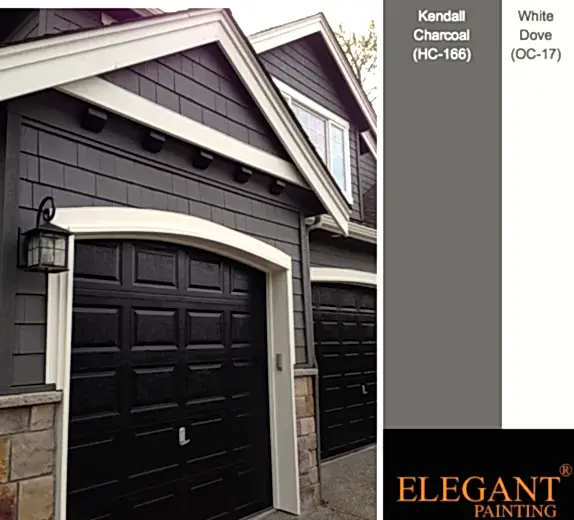
We washed the exterior on March 12 and returned for preparation and painting in April. This was our seventh house in the development at the time. The original color board shown below pairs Kendall Charcoal HC-166 with White Dove OC-17.

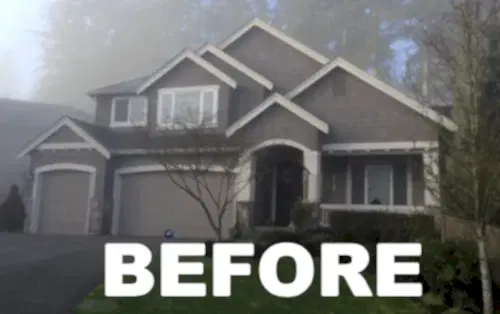
The house before the exterior painting project.
The original color board showing Kendall Charcoal and White Dove.

Cedar shakes and careful protection

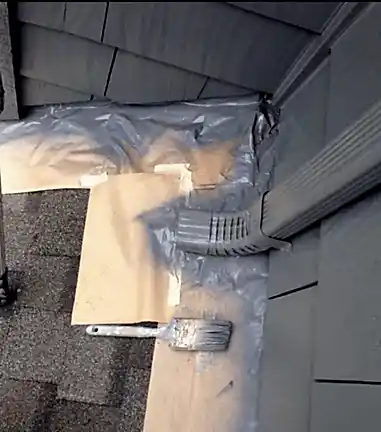
We started with the upper areas and worked down. On the cedar shakes, our job notes record two coats of Benjamin Moore solid-color stain. The roof, nearby plants and equipment were protected while we worked.

Protected roof area beneath the cedar-shake siding.
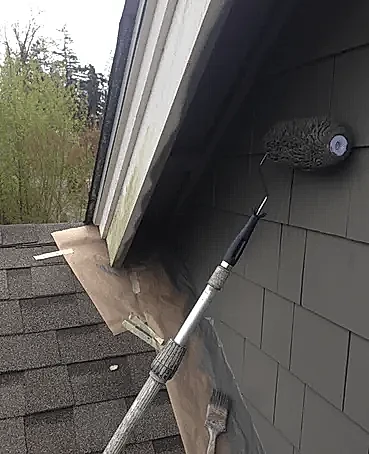
Masked roof edge beside the shake siding.
Applying the coating beneath the eaves.
Small plants protected beside the house.
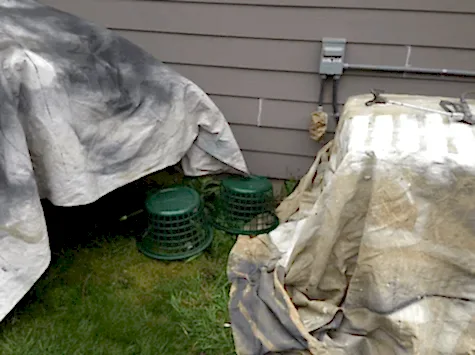
Drop cloths protecting landscaping and equipment.

Preparing the fiber-cement siding

We worked through the siding and trim before the finish coats. The original photos show the caulking used on this job. Joint treatment depends on the siding system and its installation instructions; these are records of this particular project, not a direction to caulk every siding joint.

Fiber-cement siding during preparation.
The caulking material recorded in the original project photos.

Keeping track of both coats

The original progress photos marked first- and second-coat areas so the homeowner could follow the work. We completed the upper sections before moving to the easier-to-reach parts of the house.

Progress photo showing first- and second-coat areas on the siding.
Applying the second coat along the upper wall.
Protected windows and siding during painting.
First- and second-coat areas marked above the window.
Second-coat progress along the side elevation.
Painting progress around the upper windows.

Front door, garage doors and finished details

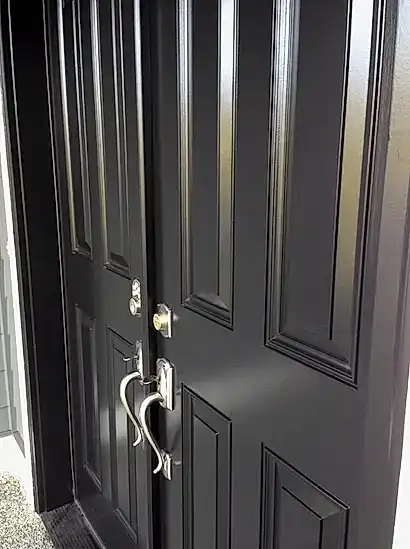
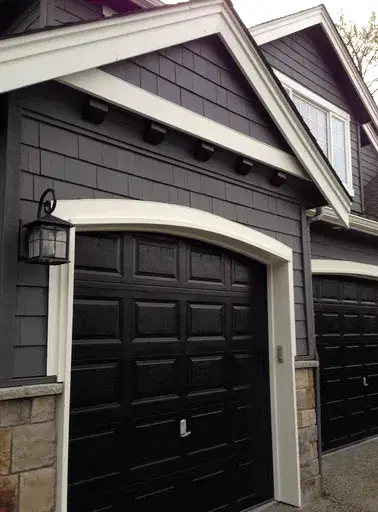
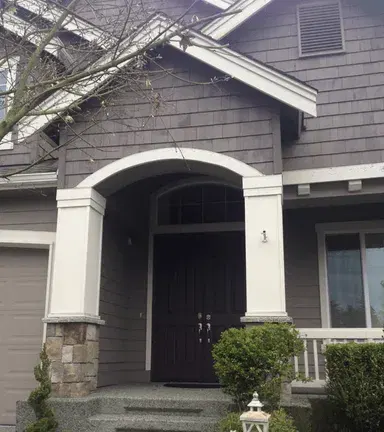
The metal doors were sprayed with fine-finish tips. Our original notes list Benjamin Moore Regal Select MoorGlo Soft Gloss for the exterior trim and doors. We kept the door profiles and the contrast with the light trim visible in the finished photos.

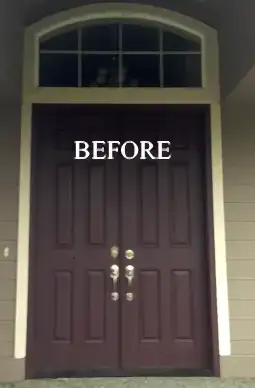
The front door before painting.
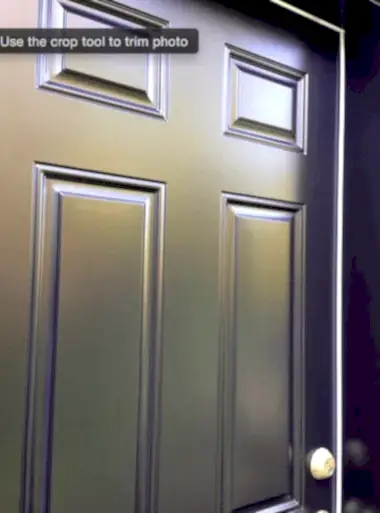
Close-up of the painted front door panels.
Finished garage door beneath the light-colored trim.
Entry arch and upper shake siding.
Light reflecting across the finished front door.
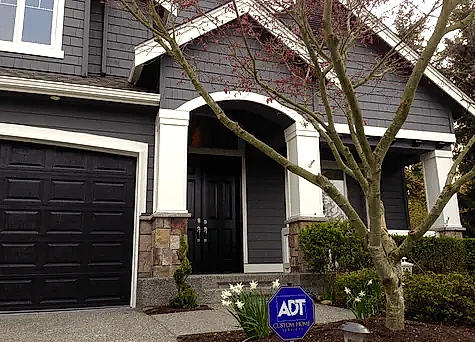
The completed entry and garage elevation.
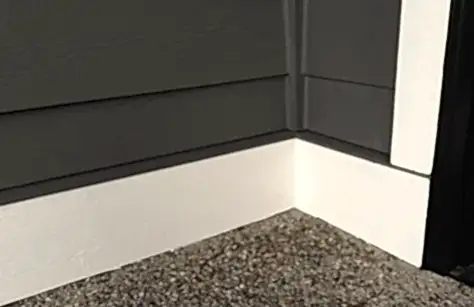
Finished siding and trim at the base of the wall.

Planning a similar project?

See our exterior painting services, or request a painting estimate. Tell us what you would like to change and we can take a look.

See more of our work · (425) 588-9288

Elegant Painting® · Serving the Eastside since 2005

Summer Ridge Exterior Painting: Preparation Through Finish

Summer Ridge, Sammamish · Completed April 10, 2014

This Summer Ridge house gave us plenty to do before we opened the finish paint. There was peeling paint on the siding, worn garage-door trim and an exposed chimney that needed attention. We documented the job from washing in March through the completed exterior in April 2014.

The finished Summer Ridge exterior in Sammamish, April 2014.

Washing and checking the house

We washed the exterior on March 11, 2014. Around the attic vents, we kept the water directed away from the openings. Washing helped remove surface dirt and growth, but it did not replace the scraping and sanding that followed.

The Summer Ridge home before exterior painting.
Openings under the eaves that needed care during washing.

Removing loose paint and priming

Preparation began on April 7. We scraped and sanded the loose coating, then applied an oil-based Zinsser primer to the prepared areas. The gable and lower siding photos show the condition we were dealing with and the work before the finish coats.

Peeling paint on the gable before preparation.
The gable after preparation and priming.
Loose coating on lower siding near the roof.
Prepared lower siding and trim.
The same area after the finish coats.

Garage doors and trim

The garage trim had peeling edges, gaps and weathered lower sections. We worked through those details before painting. The paired views below make it easier to see what changed.

Weathered garage-door casing before preparation.
Loose coating and gaps at the garage trim corner.
The garage trim corner after painting.
The bottom of the garage-door trim before the work.
The lower garage trim after painting.
Garage-door panel and trim before refinishing.
The finished garage-door panel and surrounding trim.
Finished siding and trim at the base of the wall.

The exposed chimney

The chimney had no eave above it to give it the protection the walls received. We removed loose coating, primed the prepared surfaces and painted it with the rest of the exterior.

The chimney before preparation.
The chimney after preparation and priming.
Applying paint to the chimney siding.
The finished chimney siding and white trim.

Protecting the landscaping

We covered plants near the work and gently held branches away from the siding where needed. Once the sprayer moved on, we uncovered the plants rather than leaving them wrapped for the day.

A protective cover over a small plant beside the house.
A shrub gently held away from the wall with a drop cloth.
Small plants protected near the painting area.
Protection between a shrub and the siding.
Landscaping beside the finished siding.

Two coats and the finished house

Rain shortened one of our painting days. We worked on sheltered areas and stopped early enough for the coating to dry before the weather changed. We back-rolled the paint into the siding and completed the job on April 10, 2014.

Original progress photo marking first- and second-coat areas.
The crew applying the second coat to the upper wall.
Windows and roof protected during exterior painting.
Finished gables and trim at Summer Ridge.

Planning a similar project?

See our exterior painting services and Sammamish painting page, or request a painting estimate. Tell us what you would like to change and we can take a look.

See more of our work · (425) 588-9288

Elegant Painting® · Serving the Eastside since 2005

Columbia, Sammamish: Our July 2013 Exterior Painting Project

Columbia neighborhood, Sammamish · July 15–19, 2013

We worked on this Columbia neighborhood home from July 15 through July 19, 2013. By then, we had already worked for more than ten homeowners in the neighborhood. This report follows the exterior preparation, protection and painting, with the original before-and-after photos.

Before-and-after views of our Columbia neighborhood project in Sammamish.

The colors recorded for this house

The original color chart records body color HC-166, Chelsea Gray HC-168 for the cedar shakes, and White Dove OC-17 for the trim. It also lists TWP 101 Natural Cedar Tone for the fence. We have kept that chart with the report so you can see the original project selections.

Original project color chart for siding, cedar shakes, trim and fence.

Protecting the house and surrounding plants

Before painting, we masked the windows, concrete patios, outlets and stonework. We also protected the neighboring plants while working on the fence. That cover-up is part of the job, not something to leave until the sprayer comes out.

Plants protected alongside the fence.
Upper windows and siding during exterior preparation.
Covered windows and ladders positioned beside the house.
Entry surfaces protected during preparation.

Preparation and two coats

We prepared the wood trim and addressed the joints that needed attention before painting. Then we applied two coats and back-rolled both into the siding. The original progress photo identifies the first- and second-coat areas.

Original progress photo showing first- and second-coat areas.

The completed exterior

The finished photos show the darker siding against the light trim and stonework. We completed this project on July 19, 2013. These are photos from that job, kept here as a record of the work.

Before-and-after detail of the siding and trim above the stonework.
Before-and-after views of the upper siding and windows.

Planning a similar project?

See our exterior painting services and Sammamish painting page, or request a painting estimate. Tell us what you would like to change and we can take a look.

See more of our work · (425) 588-9288

Elegant Painting® · Serving the Eastside since 2005

Exterior Painting and Deck Refinishing – Bellevue, WA

Complete exterior, including doors, windows trim, decks, and railings.

Power washing

Our power washer was able to remove Bee’s nests, spider webs, and that invisible layer of pollution that will otherwise mix into the paint and alter the formula.  We also had plenty of cedar bleed through that we removed using our standard house bleach/TSP solution.  We also removed some loose paint from the siding and railings.  We do not expect the pressure washer to remove all the loose paint, but it does give the scraping and sanding a head start.

Power washing date: May 29, 2013

Starting date: July 9, 2013

Completion date: July 12, 2013

 elegant paint colors

Colors

outside paint brown


Preparation

After scraping and sanding, we applied one solid coat of oil based primer by hand.  We like to use brushes and roller to make sure the primer is forced into the grain.  front verge boards and beams were the focus of our attention, although we did find a fair amount of peeling paint on the siding as well.

classy exterior house color

keeping a wet edge while painting


Masking and cover-up

As always, we take great care to protect windows, decks, plants, and concrete surfaces.

Redmond deck companies


2 coat Application

Both coats are always back-rolled to ensure proper adhesion.  Back rolling removes any air that might be trapped between the siding, and the fresh coats of paint.

elegant interior house colorsexterior gray paint colors


Decks and Railings

railings were prepped using the same procedure as the house, while the deck boards were completely stripped.

painting interior estimate belelvue

columbia sammamish wa


 redmond-wood-siding-Washington.png

Some Small touches

When the water pickets are previously painted, or simply old and unsightly, we paint them.  The handle is painted using Rust-Oleum metal paint, while the body of the hardware is painted with the house paint.

green leaf snohomish wa painting


Thank you for choosing ELEGANT PAINTING

Serving Seattle’s Eastside

Phone: (425) 588-9288

Sammamish Exterior painters

This photo report follows a Sammamish exterior painting project completed in July 2013, including preparation, the front door and two-tone railings. It records the work on this particular home. For current services and estimates, visit our Sammamish house painting page.

Sammamish, WA

Power washing

Completed 2-3 weeks before painting.  Because eaves are constructed out of plywood, and since they do not receive any direct sun, we allow several weeks of drying time.  Our power washer removed bee’s nests, spider webs, and most importantly, an invisible layer of pollution that would otherwise mix into the paint and alter its formula.

sammamish painting contractors

Masking and cover-up

This house is tastefully landscaped and our goal is to not break a single twig.  We started by masking windows, front bricks, and covering up plants.

columbia sammamish wa sammamish city contractors


Masking Windows

We have expert maskers on the crew.  We guarantee a neat job.  Once we are finished, there should not be a single drop of paint on any bricks, concrete, windows, etc.

eastside paitners free estimate bellevue painters licensed eastside licensed painting companies

Caulking

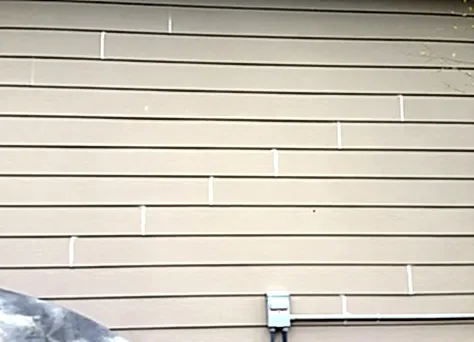
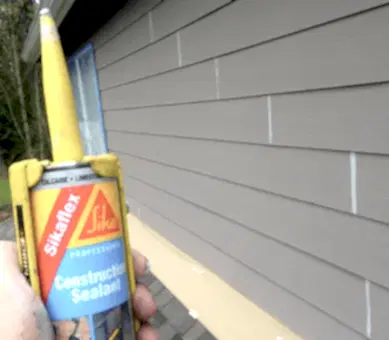
Since we are dealing with fiber cement siding, we caulked every single butt-joint to prevent moisture penetration.  Product of choice: Sika by Sika group of America.  This is the mother of all adhesives.  Once dry, this caulking material has the same feel as rubber used in car tires.  It remains flexible even after fully cured.

interior painters sammamish, WA

interior paint colors elegant WA

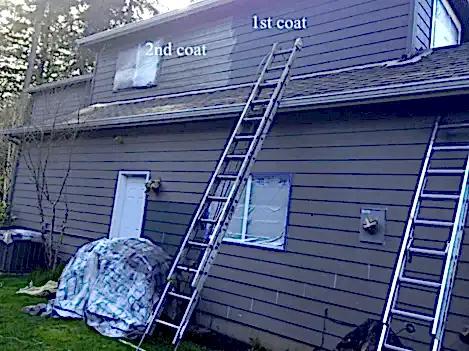
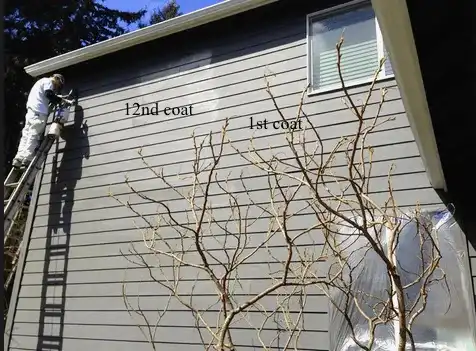
Applying the second coat

As always, we apply 2 coats whether it is needed or not.  Both coats are back-rolled to improve adhesion and spread the paint evenly.

sammamish painting contractors

sammamish painting contractors

Front Door

After sanding, cleaning, and performing our standard precision masking, The front door was treated with 2 coats of Benjamin Moore MoorGlo.  Color: 2137-10.  with every front door we paint, our goal is to produce a finish that resembles something that just rolled off the factory line, and on this project, weather conditions were perfect and we were able to reach our goal.

best exterior house paint

sammamish contractors painting spray siding sammamish

Railings

ELEGANT PAINTING signature 2 tone railings.  Spindles are body color, and the horizontal pieces have been coated with 2 coats of the trim paint.

railing color

Finished product

Completion date:  July 8th, 2013.

sammamish house painting contractorsbellevue exterior painters

Sammamish Exterior painters

sammamish Exterior painters


Exterior painting sammamish

This Sammamish exterior project report shows the preparation and painting work as it progressed. For current services, see our Sammamish house painting page.

Free Estimates (425) 588-9288

Power Washing and Color Selection

Power washing a house is all about using the right materials and equipment.  We soaked any visible mildew with our exterior bleach and TSP solution, allowed 5-10 minutes for the cleaner to activate, and power washed to remove fairly large amounts of mildew and other green growth from the siding, eaves, gutters, and back side of gutters.

eastside power washing house

Some Gutter damage

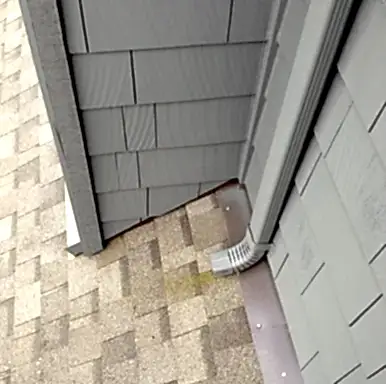
We will attempt to fix these issues that seem to have been developing for some years.  These front gutters have been filled with water and are handing down with the weight of the water.  We will attempt to push them back in place before painting.  In the back of the house, above the sliding glass door, we have rusted gutters that are leaking.  We have a spray product that can seal these holes from the inside and provide a 1-2 year seal. Looks like the little pines or needles from the nearby evergreen trees are filling up these gutters, blocking water from draining down the downspout, causing sitting water in the gutter, and the weight of this water is causing the gutters to come loose.

painters close to kirkland

Possible Color Choices

blue exterior colors


Colors

sammamish wa licensed painters


Day 1 – Preparation

Friday July 26 – Estimated completion date: Monday July 29th. We started by masking windows to prevent any over spray, caulking any gaps, cracks, nail-holes, etc.  We also removed some loose paint from the south side but there is still some scraping/priming to do on Monday.  We were also able to apply both coats on about 70% of the house, and get started on the trim.

first coat of paint

White Lightning caulking material was applied to all corner joints, and sides of windows, doors, etc.

protecting the roof from over spray

Proper masking allows us to work fast without having to worry about making a mess!

Back-Rolling

As always, both coats are back-rolled to force the paint into the grain, and to make sure the paint is evenly spread.

painters near medina


Progress Photos

buxton blue exterior siding blue esterior color second coat of paint


 Final Product

sammamish wa house painters sammamish wa interior painting sammamish painter reviews

Thank you for choosing Elegant Painting

Phone: (425) 588-9288

exterior painting Sammamish

Exterior Painting – Seattle

Complete Exterior Painting – Seattle, WA


gray paint seattle


Colors

 painters seattle eastside


Step 1 – Power Washing

Pressure washing was completed on Tuesday May 28th.  We removed some mildew from siding and gutters, spider webs, bee’s nests, etc. As with all our cedar siding projects, we allow plenty of drying time.


Step 2 – Preparation and painting

July 1st, 2013

We started with masking windows and covering up plants, walkways, front porch, rear deck, etc.


What we’ve done so far:

Apply 2 coats on siding, two coats on spindles front and back.  1st coat on Garage retainer walls, 1st coat on about 30% of the trim and windows.

Application started with spraying, and back-brushing 2 coats of Benjamin Moore Solid Oil based stain on cedar shakes.  Why not use paint on the shakes?  If paint ever fails (chips) on shakes, then they would need to be replaced.  Paint is never recommended for exterior cedar shakes.  The correct product for shakes is solid stain, which looks like paint but it does not chip or peel.  Next time, the shakes simply need to be washed, and re-stained.

back brushing shingles


 Getting into tight spots

We had to get a little creative to get behind all the plants to paint every square inch of the siding.

painting concrete wall

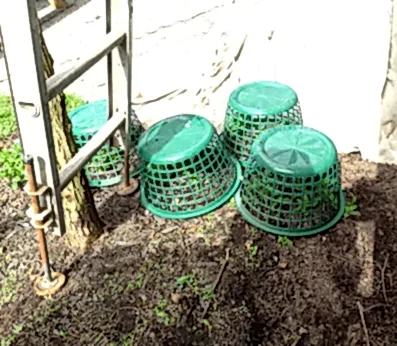
A fully protected plant was gently peeled away from the house and covered up. Once paint is dry, it will simply be pushed back into place.

cover up plants for painting

An extension pole was used to push a covered plant away from the surface while the paint dries.


Application

We spray and back-roll or back-brush to add 3-5 years to an already durable Benjamin Moore paint job.  Manufacturer recommends “knocking out” the sheen seen in this photo to improve durability.

sammamish house painting contractors

 Second coat

As always, we apply two coats, and back-roll both coats to increase adhesion, and produce an even layer.

sammamish painting companies


 Before

exterior+house+paint+color

 After

east side Exterior Painting Seattle


Exterior Painting – Seattle

Come find us on Google+